01-20-2025, 03:35 PM
Really solid updates as always! I love the cartoon sheet in particular, really well done!
|
Cosmic Inhabitant's Sketchbook
|
|
01-20-2025, 03:35 PM
Really solid updates as always! I love the cartoon sheet in particular, really well done!
09-13-2025, 05:08 PM
@darktiste - Thanks! I definitely will be posting more of 'em. I Also want to try to improve at a more anime style as well too.
@Yamsinpajams - Hey, thanks! Hah, yeah, the cartoon character pieces I did in my previous post where mostly inspired by Tex Avery and Cartoon Network shows from the 90s. Also, hope those sources helped you out some. @cgmythology - Thanks! Seems people like the cartoon stuffs, I'll definitely post more stuff like that. I use to make little animations for fun years ago using Toon Boom which I got with my old Wacom Bamboo Tablet. That got me into doing lots of cartoon studies (and a bit of anime stuff too) several years back. Maybe I should try posting some little animations on here in the future. It's been quite a while since my last post. But I have finally finished this art piece, which I kept track of roughly how long it took, and it came out to about 145 hours and that is a bit on the low end, since I rounded down some time spent on it. I really need to speed up my process, a major issue I had making this piece was at around the mid-way point the file was getting big, making things slow down, and by the end it was painful. Took me about 4-5 solid minutes just to open the image. I definitely need to reduce the dimensions quite a bit and start merging layers more aggressively going forward, I got up to 360 layers by the end. But besides that I think I spend too much time detailing unnecessary things (like in the background or detailing the entire subject instead of just areas of focus) and going over every part of each object making sure the edges are crisp and sharp. Zooming far in adding details that probably wont be noticed or just flat out cannot be noticed unless you zoom 400% in. Then on top of that it doesn't even matter because the image is so massive I have to scale it down so much that any of those said details are now lost unrecognizable blurs. So I've added some close-up shots lol. But with that said, overall I like how the end piece came out. I tried out adding some effects - the motion blur, action lines, sparks, and electricity effects. The only things I am a bit iffy about are the spark effects, and the perspective on the droid might be a bit off in spots, and if the motion blur effects on the creatures' blades and in general are too much, or too little. 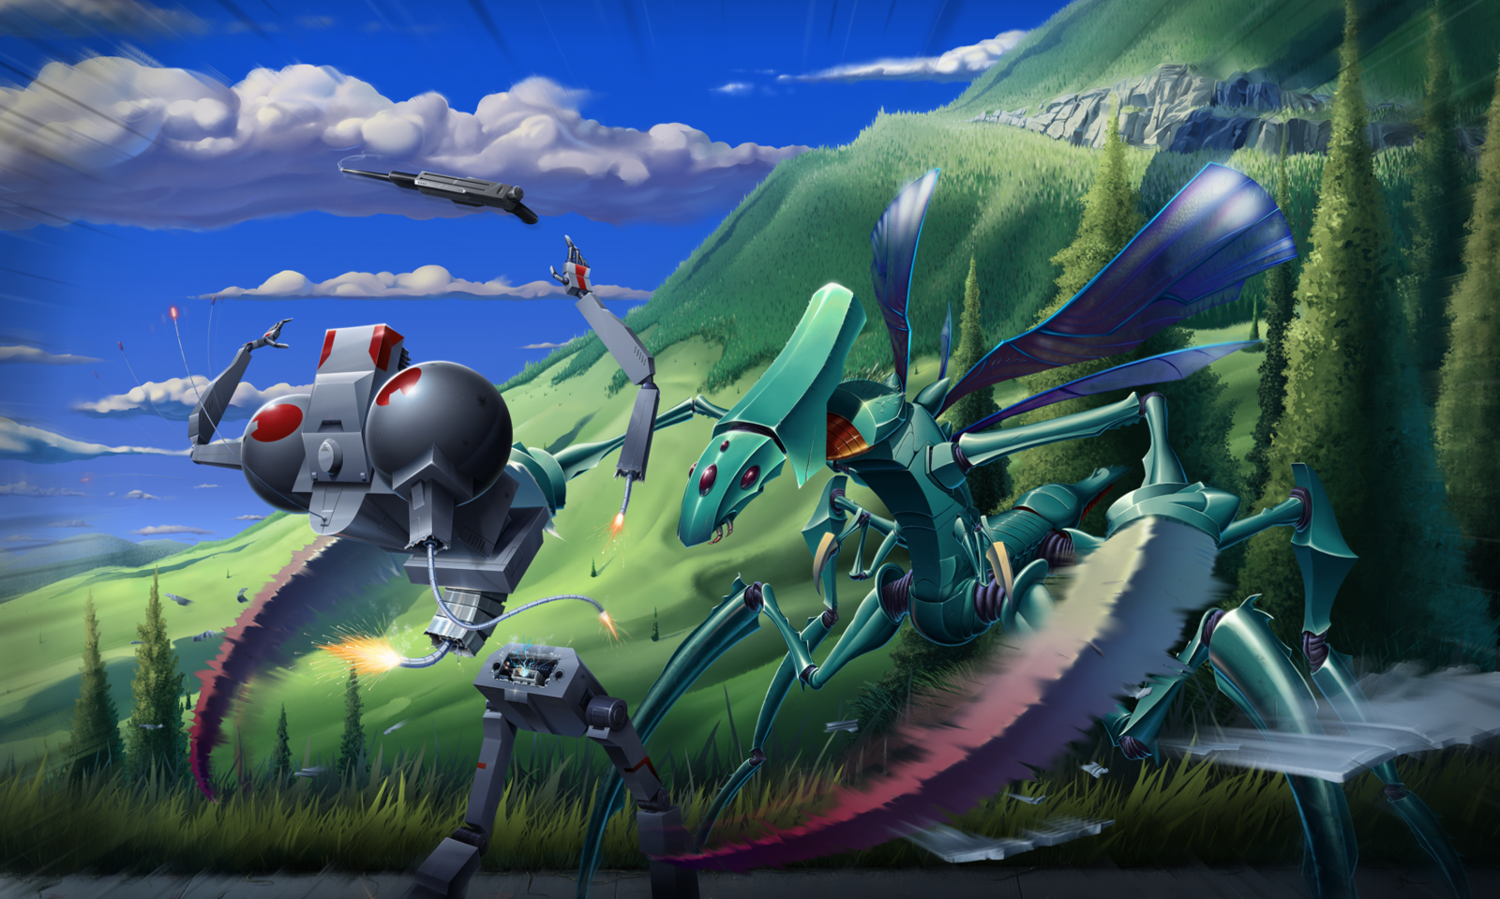 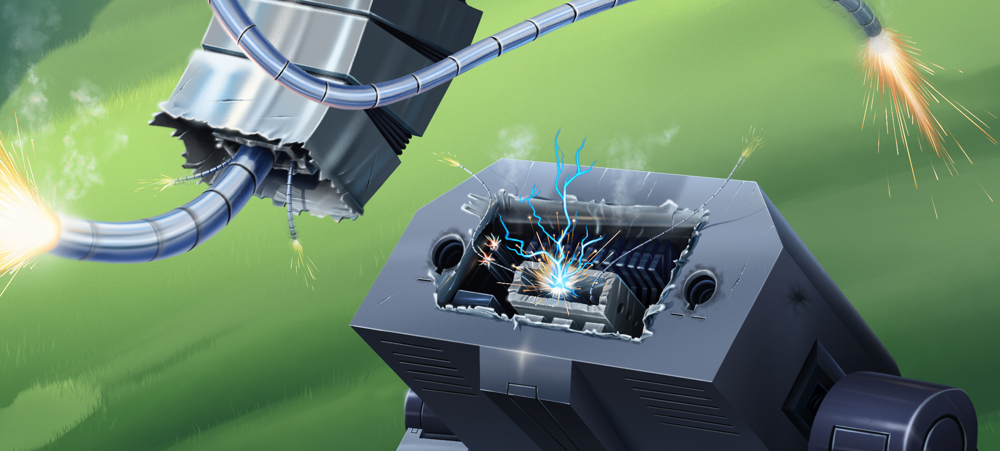 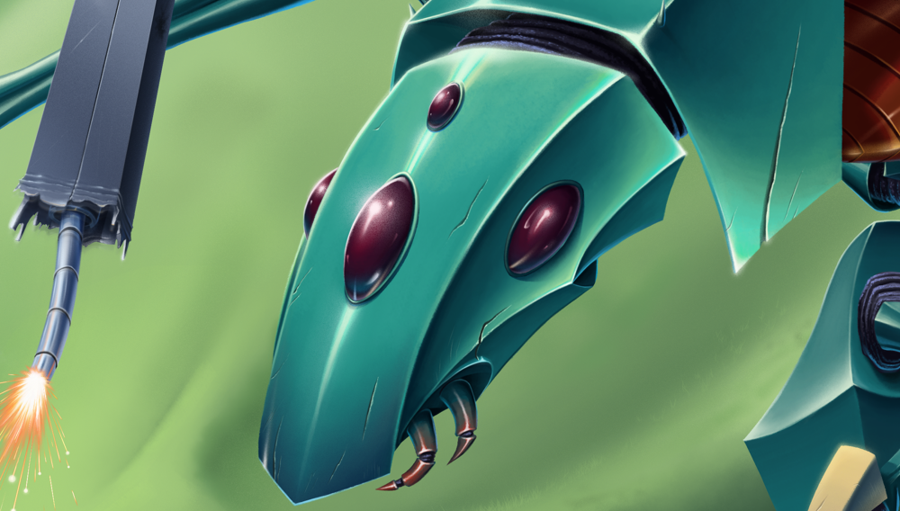
09-13-2025, 10:18 PM
Very impressive work with your latest! Composition and rendering is on point, and I love the effects you included to give the image a sense of motion. It works incredibly well and the image is more dynamic because of it. Very well done!
09-14-2025, 11:59 AM
I think those hour are still paying off but surely you will get more comfortable with your own process. My advise is always to do thumbnail so you can save time in being rough and less time being zoom in which is a time sink in illustration.
Also layers are nice but brush control shouldn't be out the window just because you can throw in one more mask. Here the little secret locking pixel of the layers this way you will only work withing the pixel you want to affect oh and the bigger thing use clipping mask isbasically the same thing but you get a similar effect in a stack fashion where the bottom layer determine the limit and link layers are limited within that bottom layers boundary pixel .You also need to get more organize if you get to that many layer and you probably just use lasso to have more thing inside the same layer. For example grouping all those little round shape on that robot mantis head in one layer instead of maybe 4 .The trick is to find element that don't touch and group them by material i would say. This way you have a easier time to find you layers just by visually classifying them by material and a surface example layer name metallic front leg and an other layer metallic back leg. Obviously the more something is segmented and overlapping with different material the higher the layer count. So sometime it just a question of limitation. But here an other major time saver... a color coded layers where each surface as it own color this way you don't even have to look for the name of a layers this the most precise and layers effective method. You simply use the magic wand on the surface and you paint directly into that limited space. You basically end up with less than 10 layers with this technique .Here how it look a highlight layers a mid tone layer and a shadow layers and the clown pass. So with the magic wand you select the clown layer surface and you select the layers you want to paint on voila.The clown pass sit over the stack of layers at 50% so you can see what it affecting you can turn it off to see better and you should because it affecting the color you see and select if using the color picker below that layers you have a group THAT THE CLIPPING GROUP(HL,SHADOW,MIDTONE(all those layers have there dedicated mask for none destructive purpose) This method require alot of back and forth between the clown pass and the layers but that the cost you pay so you don't waste time looking for the layer this also save you time naming, creating layer, deleting layer, organizing layer, looking for a layer... It all super useful but it technical and not so easy to find info on you kind of have to ''dig'' into the menu and look at other people to figure those technique. I wish i could show you how useful it is but it by working and seeing people work with those workflow that you understand what true organization and effective workflow is. Don't underestimate the time lost due to leak of organization or a leak of understanding of the tool at your disposal.
09-24-2025, 07:16 PM
@cgmythology - Thanks a lot! I definitely learned a bit from that piece.
@darktiste - Some of the stuff you mentioned I have done, like locking the alpha, using inherit alpha groups (since there is no “clipping mask” in Krita, but this does the same thing), and doing some organizing. Though organizing is something I should improve on more. I do actually use color labels, but about half way through the creation of that image I kinda just stopped, and just sorted thing within groups. What I usually do currently is try to group via object, so like the droid is 1 group, the creature is another, the background, etc. Then make sub-groups within them for more and more specific elements of each object. But I still am not 100% set in my process, it always seems to change a bit every time lol. So I do need to get my process a lot more streamlined which would reduce my time some overall. Also I should start watching other artists too, I haven't really done that for some time. Just to see how they work, and how they organize things and tackle particular problems. I could get some good tip or ideas of ways to improve what I am doing, or just flat out find out things I didn't even think or know of. Thanks for the useful info as always! There's a useful shortcut in Krita I learned about online recently that helped me out a lot which was learning about the Layer Picking tool. By pressing R and clicking anywhere in the image it will go to the layer those pixels are on. Also another useful shortcut I found online was Ctrl+Alt, which pick's the original color, ignoring any effects added to it like blend modes or changing the opacity of the layer which helped speed things up. Just wanted to throw it out there, cuz it's hard to find anywhere info about them. They aren't even shown in Krita's Keyboard Shortcuts options. So I now plan to start actually studying art (finally) more rigorously, for lack of a better word. First I wanted to get some stuff in order before I begin, which thankfully I've already done 90% now. These things include figuring out my goals when it comes to art - why do art? What is the purpose of doing art? What are your end goals? What art style(s) do you want to do? What subject types do you want to get good at (people, vehicles, creatures, aliens, ships, landscapes, etc.)? Do you want to make money from it? If so, how do you plan to do so? etc. Also setting up a work space, figuring out how I plan to take notes, making a schedule, better learning techniques & strategies, etc. etc. etc. I won't bore y'all with that stuffs. I am pretty much done figuring all that stuff out for the most part. The next step is figuring out what the best, as in most optimal, efficient, and effective path is to take for learning art, from absolute very beginner basics, to the high end advanced stuffs. So while looking into that, I also plan to finish tying up any loose ends with my prerequisites and finish up The Natural Way To Draw art book. I am near the end of the book, so hopefully by around the time I finish it I'll have everything figured out, or at least figured out enough to get going! With that all said, here are some random things I made recently. 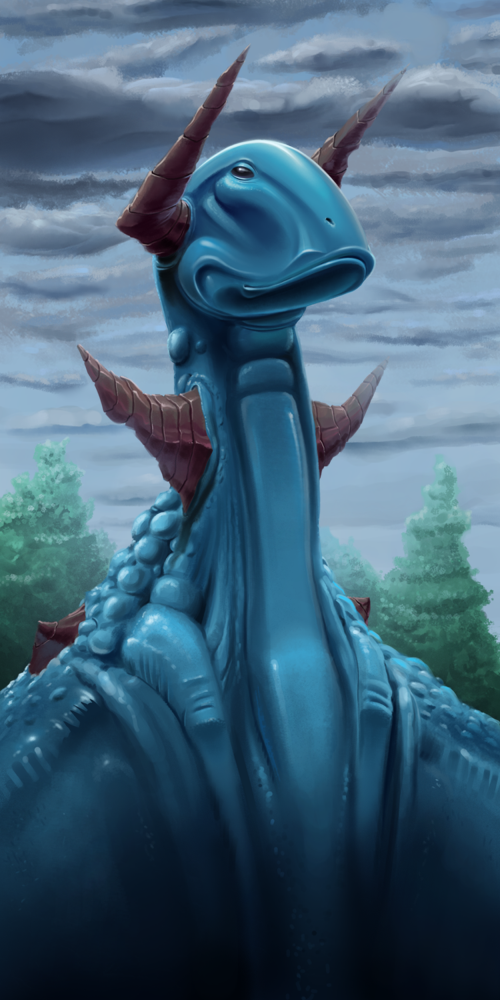  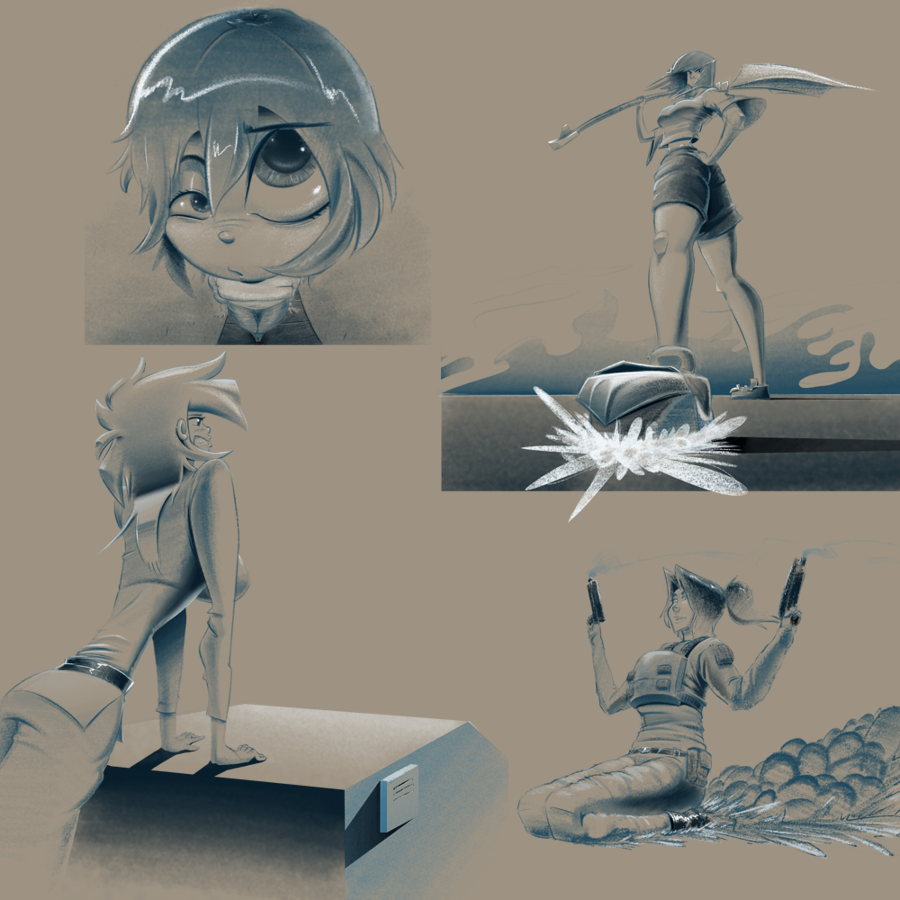 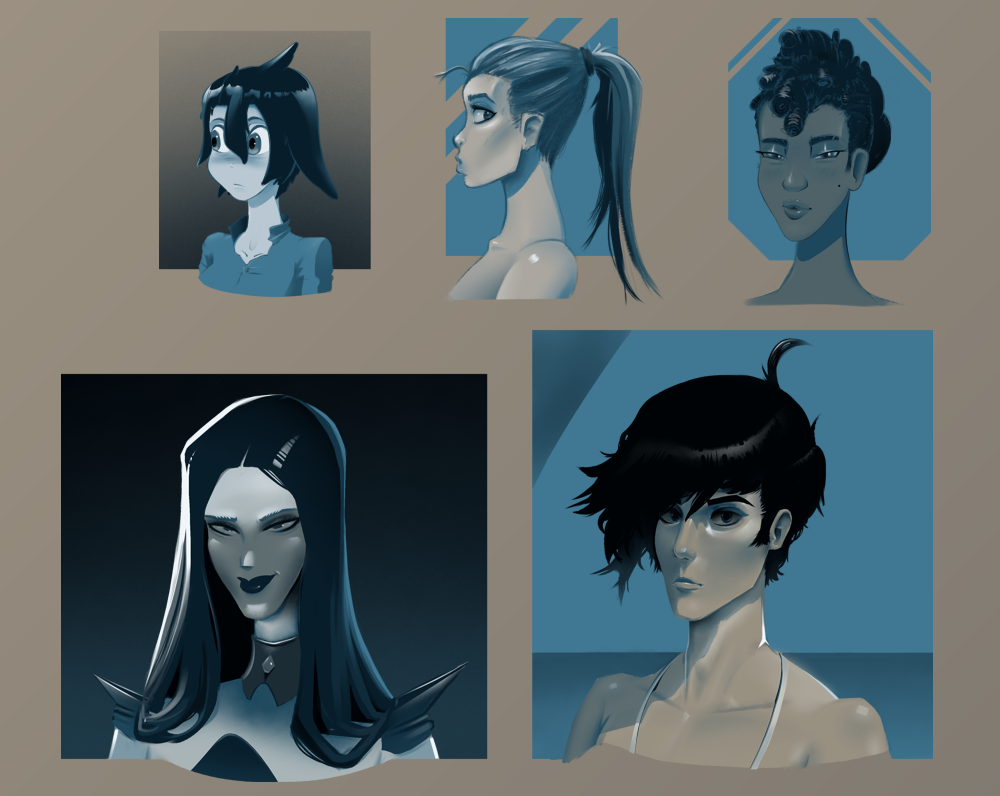 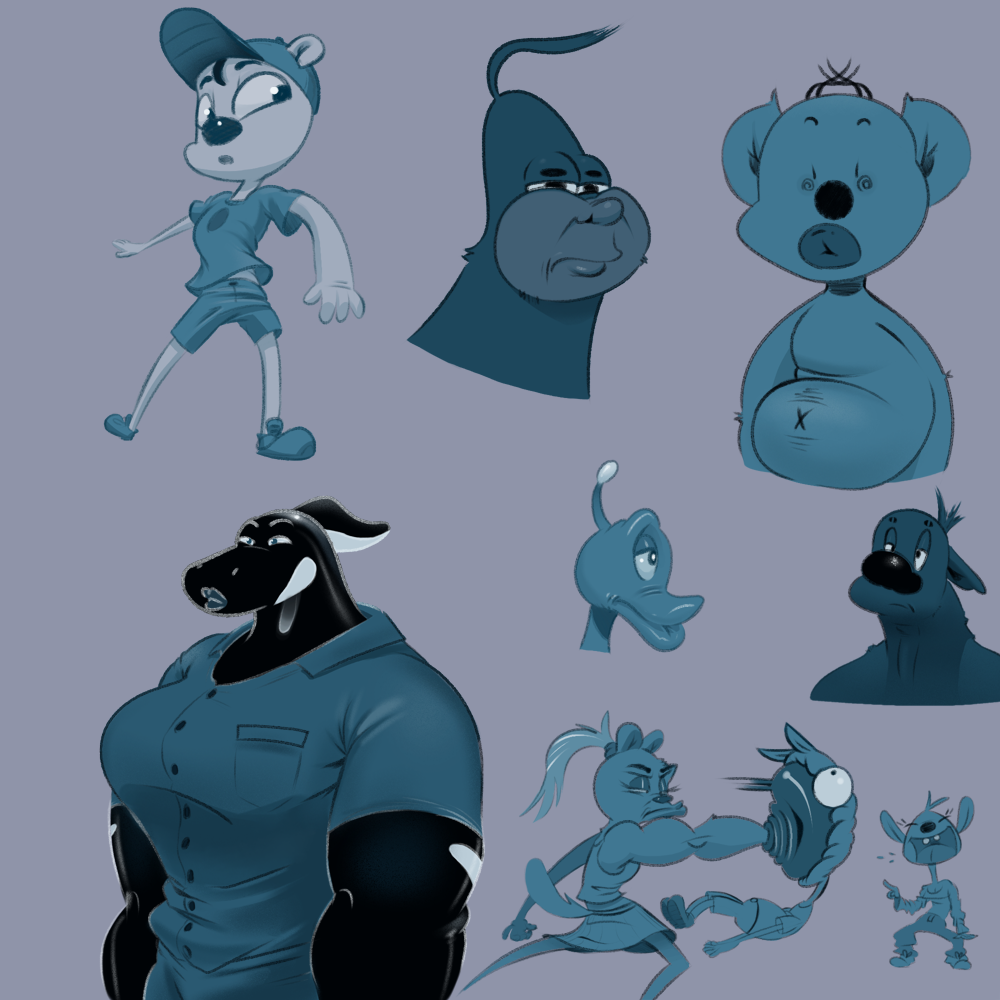
09-24-2025, 08:05 PM
Some of the shortcut i like on krita is switch between a primary and a secondary color.
There also the quick tool selecting menu with the color wheel and easy access to the brush. Personally for me i don't want to be spending time in menu because it distract from the creative process i don't want to be digging in menu unless perhaps until the very end example if i need to adjust the contrast/saturation or hue in part of a project. Ultimately i just want to go full screen and have 1 big canvas with perhaps my layers stack. If you want a workflow you kinda have to make sure you are comfortable with your short key that might mean investing time to use them and set different key then the default setting.Also remember that you can great your own workspace the menu are not set in stone if you prefer you tool on the right on the left or anywhere for example... if you want a color wheel or no color wheel if you want to see brush for quick acess ... you can have ''moving pop ip menu'' you can have static menu... personally i would say go for a clean look and focus on shortkey but it take sometime to commit to memory and it a risk that you loose the muscle memory if don't use krita for a while.
09-25-2025, 05:26 PM
Fantastic updates, really enjoy the expressiveness of the figures as well as your rendering style. Keep up the great work!
11-01-2025, 10:46 AM
@darktiste - I need to setup more shortcuts for myself to speed things up, I have most of the basic things like brush size and flipping the canvas, but I should go through them more thoroughly at some point. I actually don't use full screen mode at all really. I have tried it out before, but haven't really stuck to using it. I guess one big reasons is due to the lack of sufficient shortcuts setup, and also having to use the popup panels more which I don't use. I try to keep the UI of Krita fairly minimal, using the ability of tabs for dockers to group similar dockers as much as possible.
Also, on that subject of shortcuts I've seen a few setups that people have for using shortcuts, like using the buttons on their drawing tablet, or getting those small remotes to use with their tablets, or using a keyboard. I use a gaming keypad (specifically the Logitech G13, which has been discontinued for some time now), which I think is the best option. It allows you to setup macro's and different profiles, and it is much smaller than a keyboard so you can lay it right along side the drawing tablet and not have to have your hands in any awkward position as you might have to with a normal full sized keyboard. Plus the added benefit of using it for certain games. @cgmythology - Thanks a lot! For the more cartoony stuff it feels a bit easier, or at least it seems that way, now it's just being able to translate that to more rendered pieces. It's that time again - Happy Halloween!!!! (insert jack-o-lantern and ghost emoji's here) So I mustard up a bit of a treat this year! Though I unfortunately did have to rush it a bit due to a vacation trip a week ago. I tried my hand at a lil' spooky animation, which I hope will work on this website. I haven't made one in the last couple years, so it's probably is very jank, lol. But otherwise it's a bit of a mixed bag of some spooky stuffs and some other random drawings I might as well throw in too.  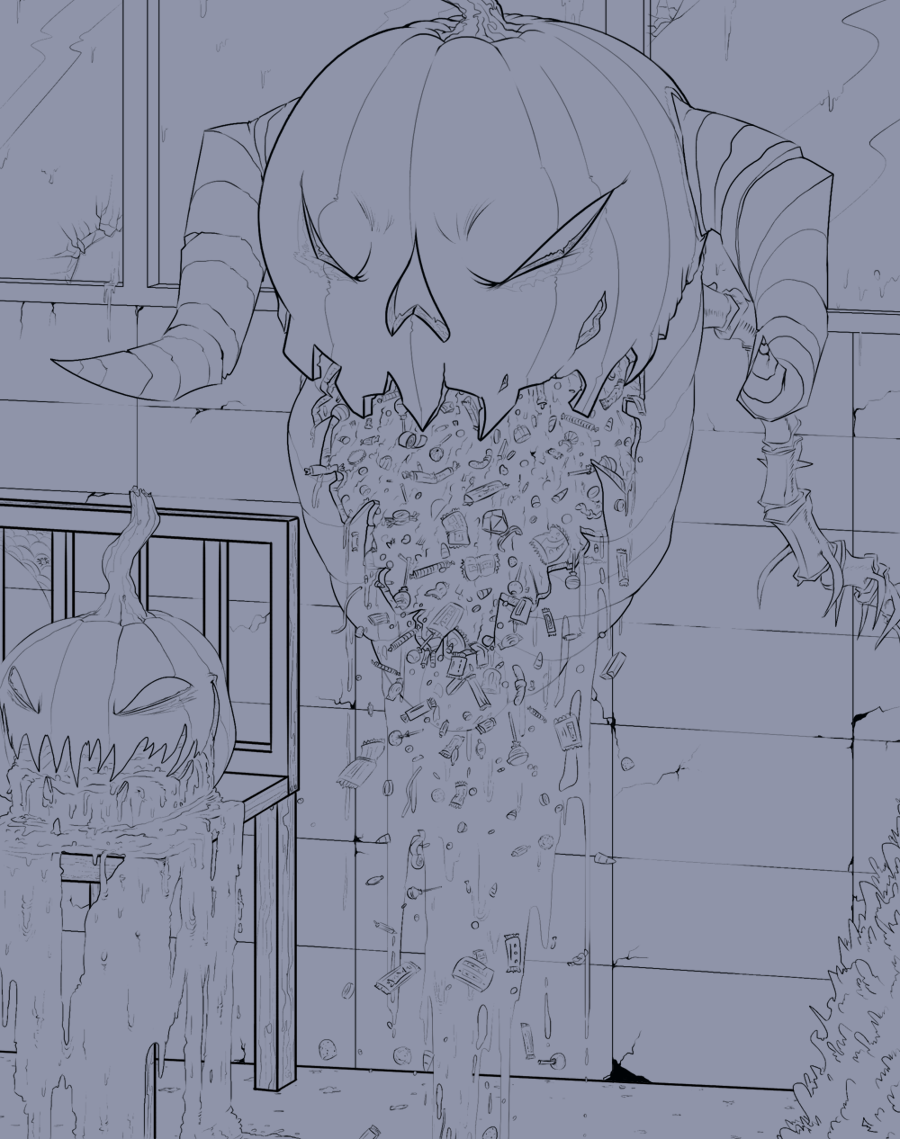 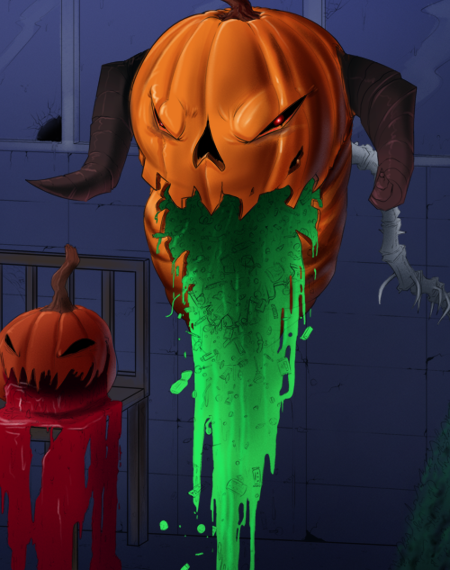 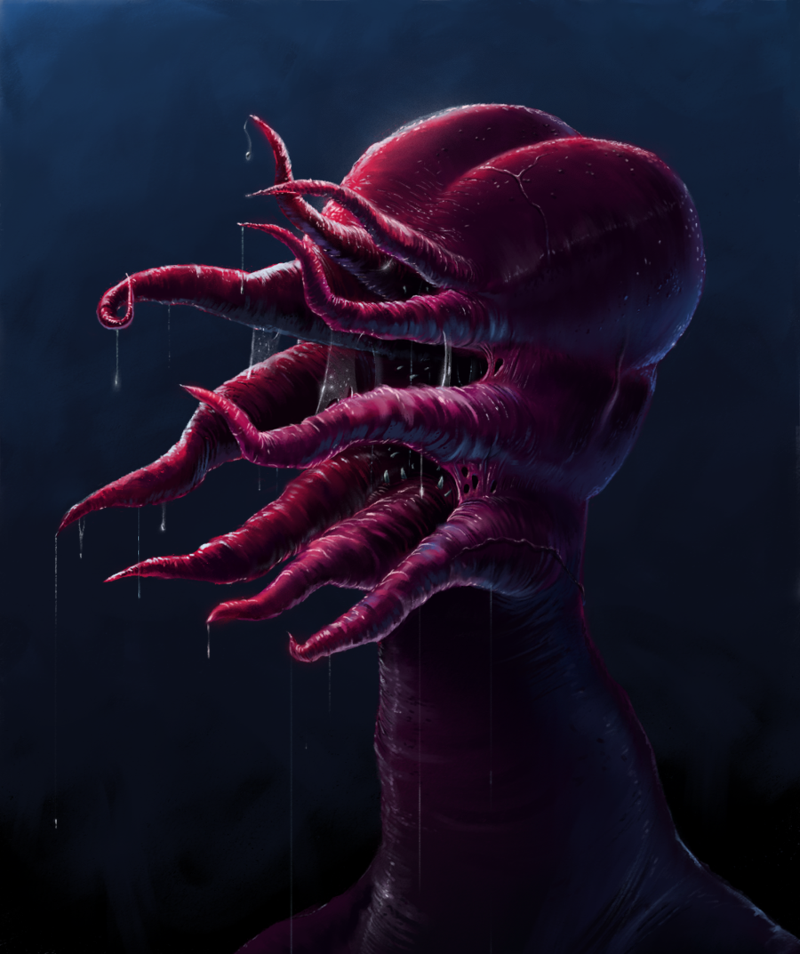 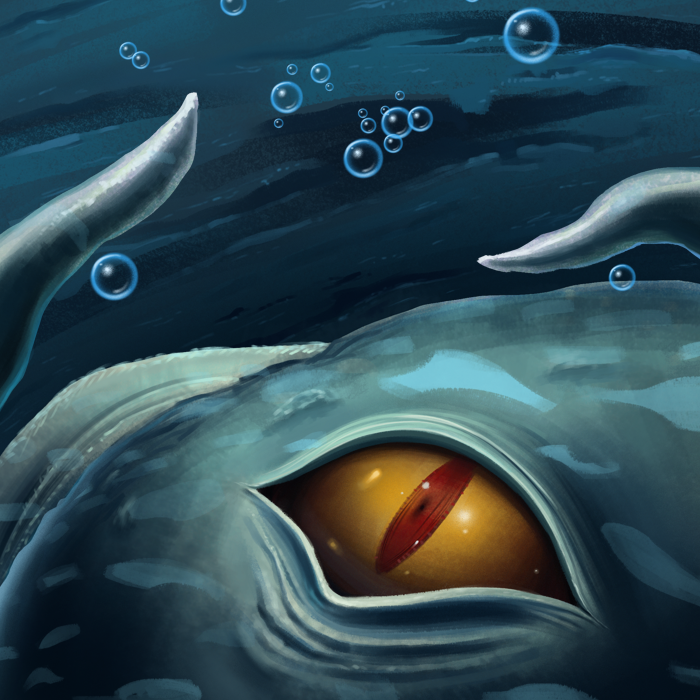  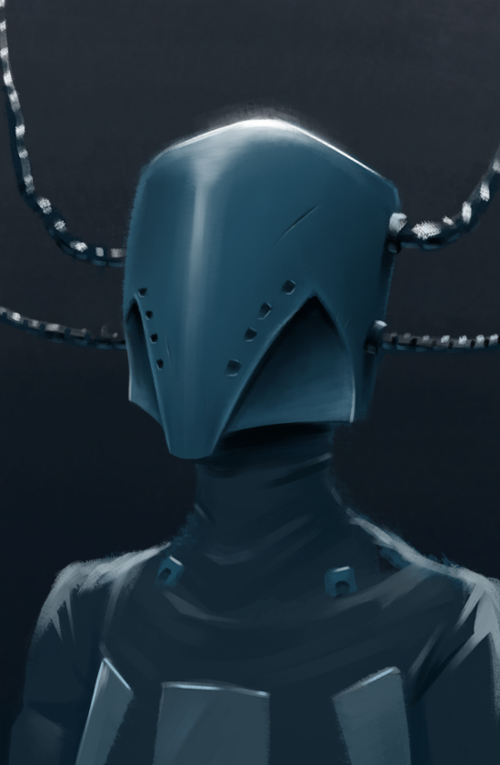 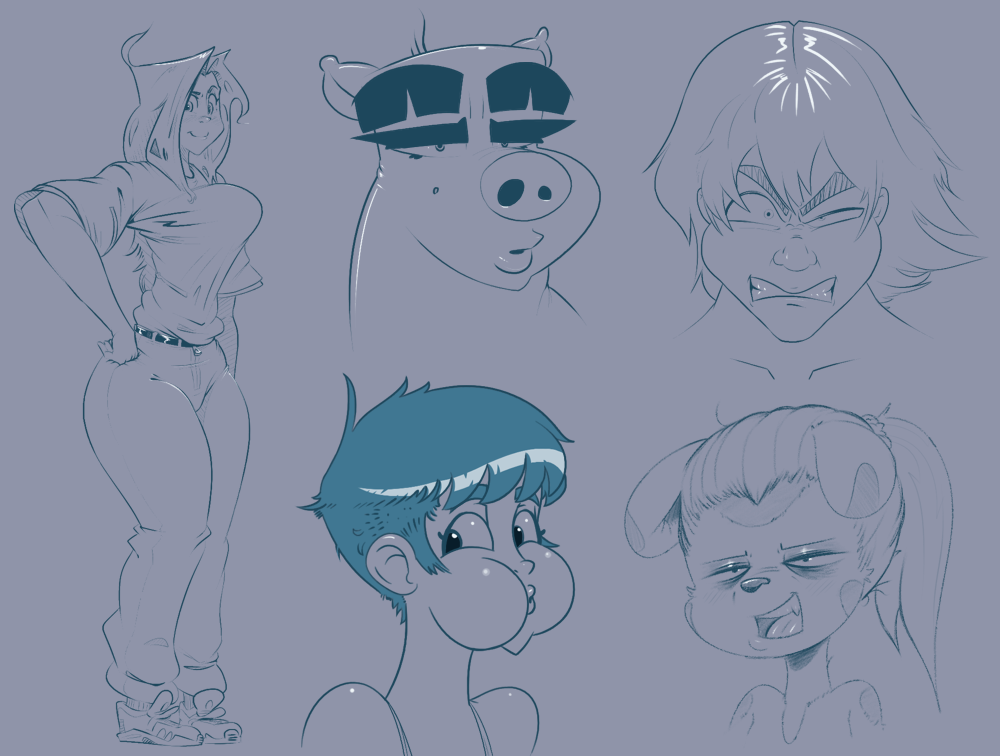 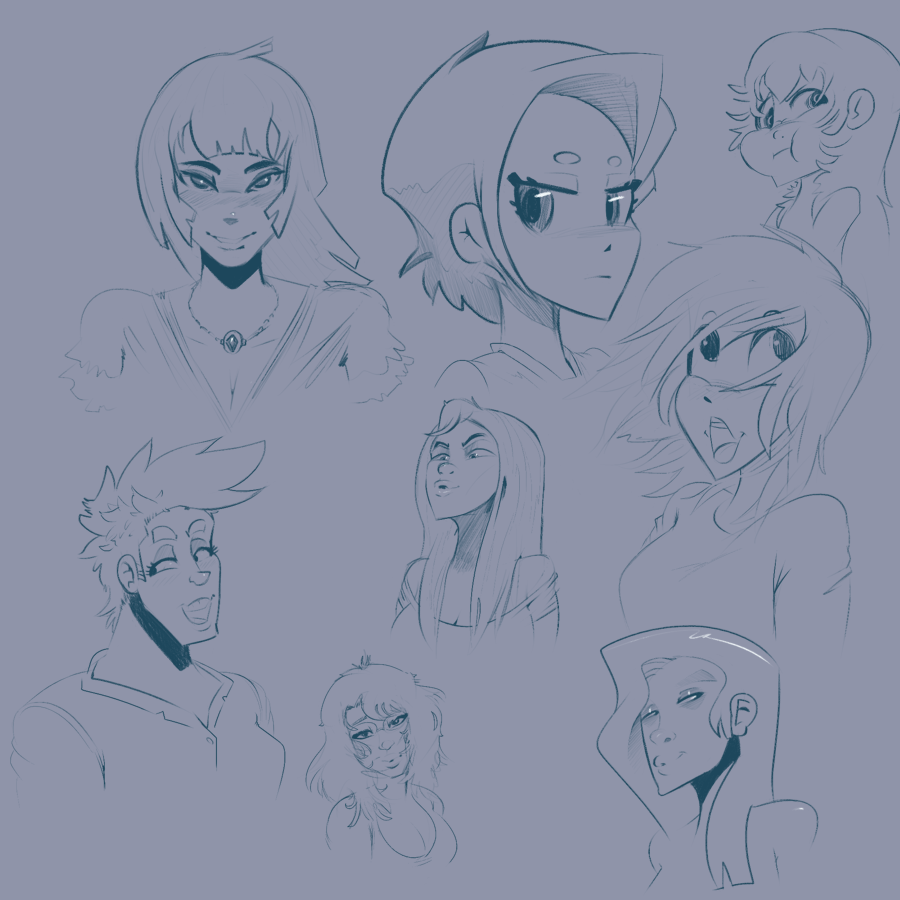
11-03-2025, 07:34 PM
Loving the new updates! Very well drawn and painted. The pumpkin illustration is my personal favorite of the bunch, the concept and execution there is just aces!
|
|
« Next Oldest | Next Newest »
|