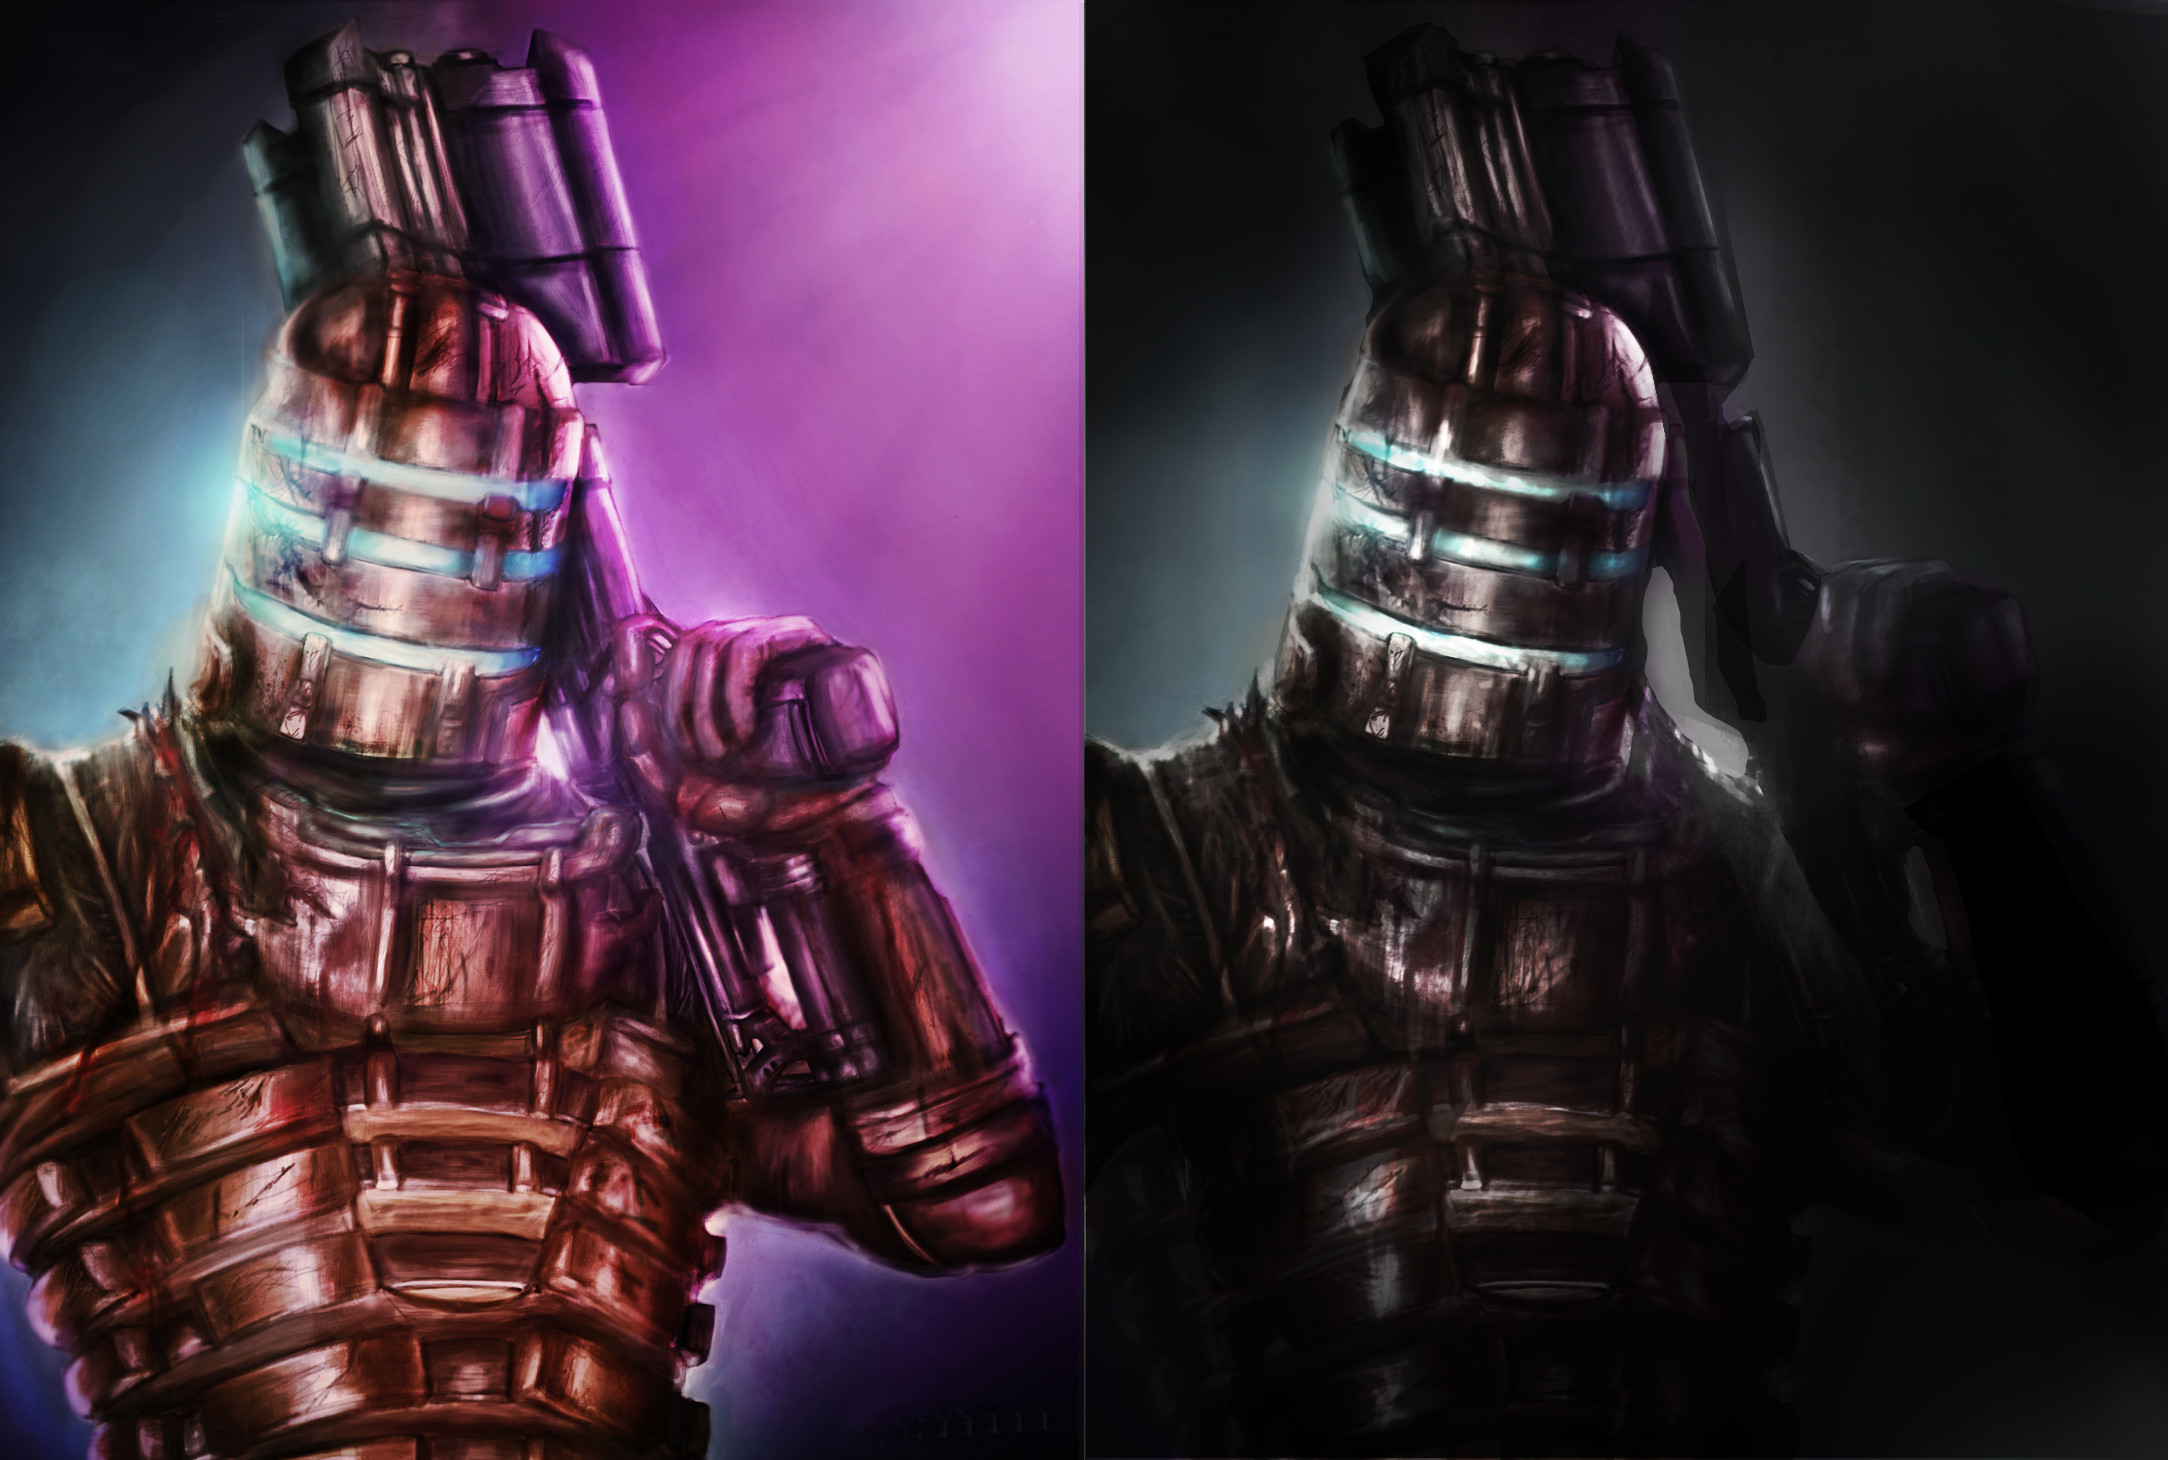
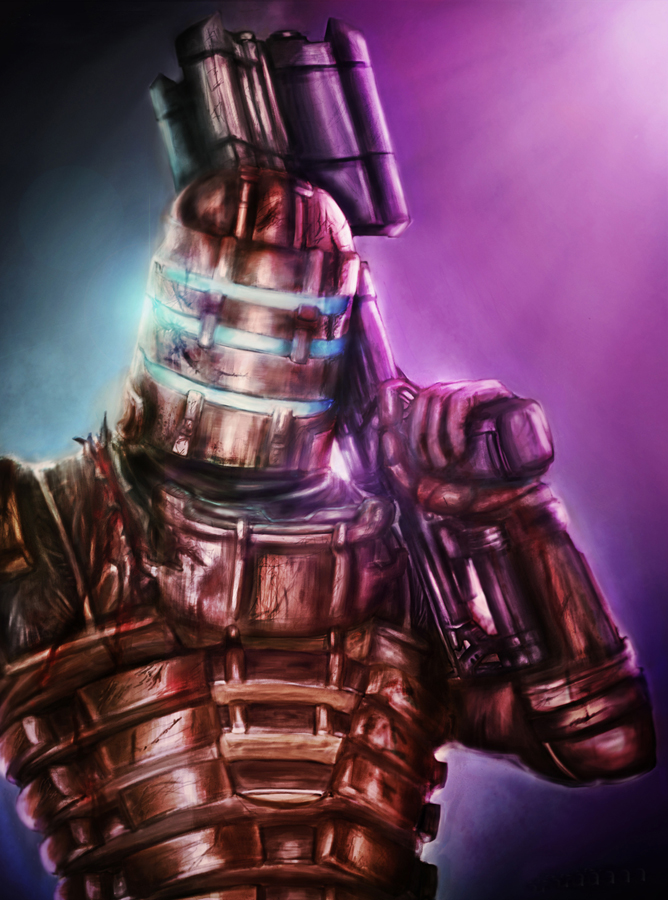
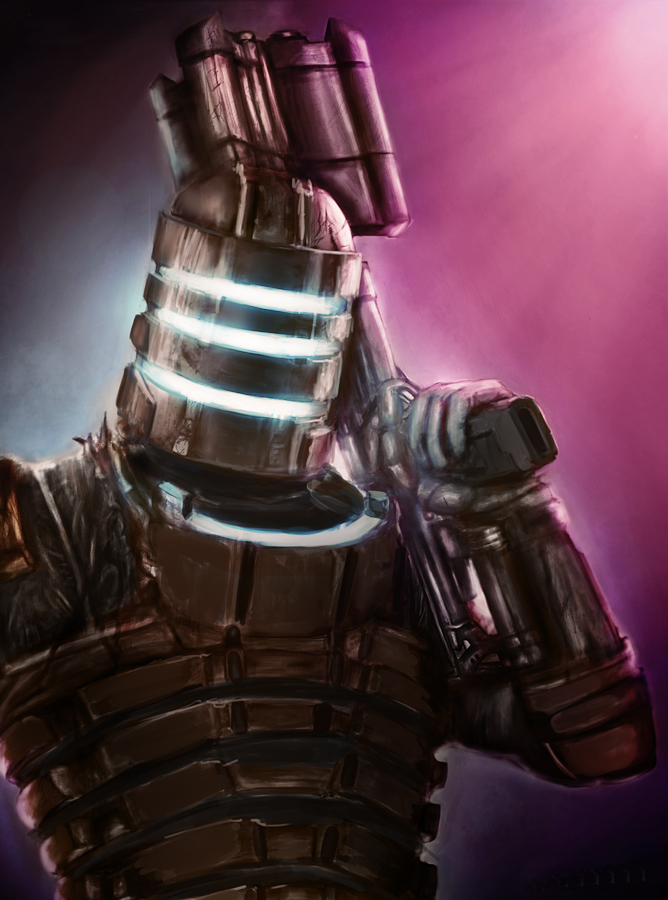
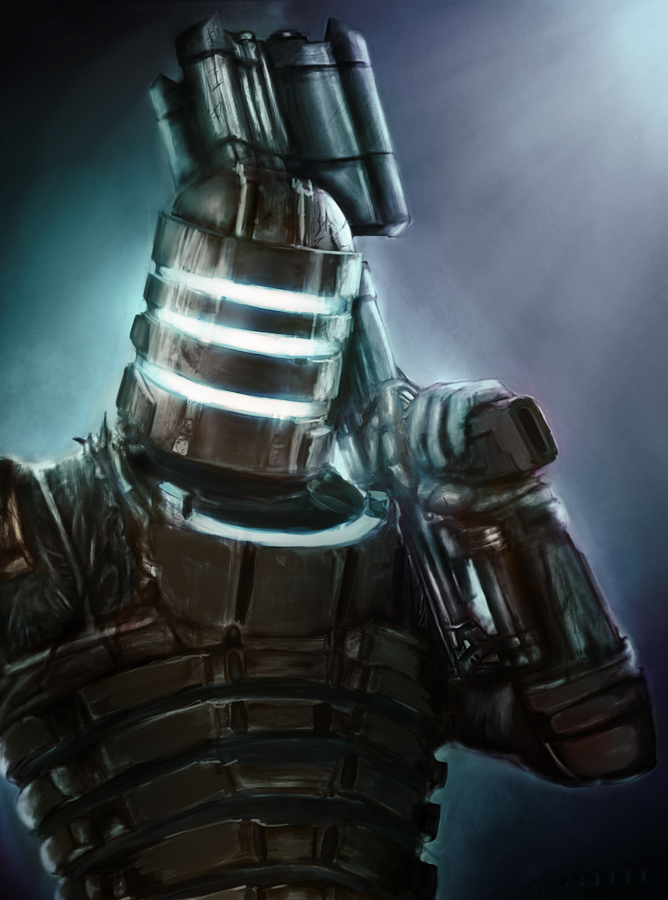
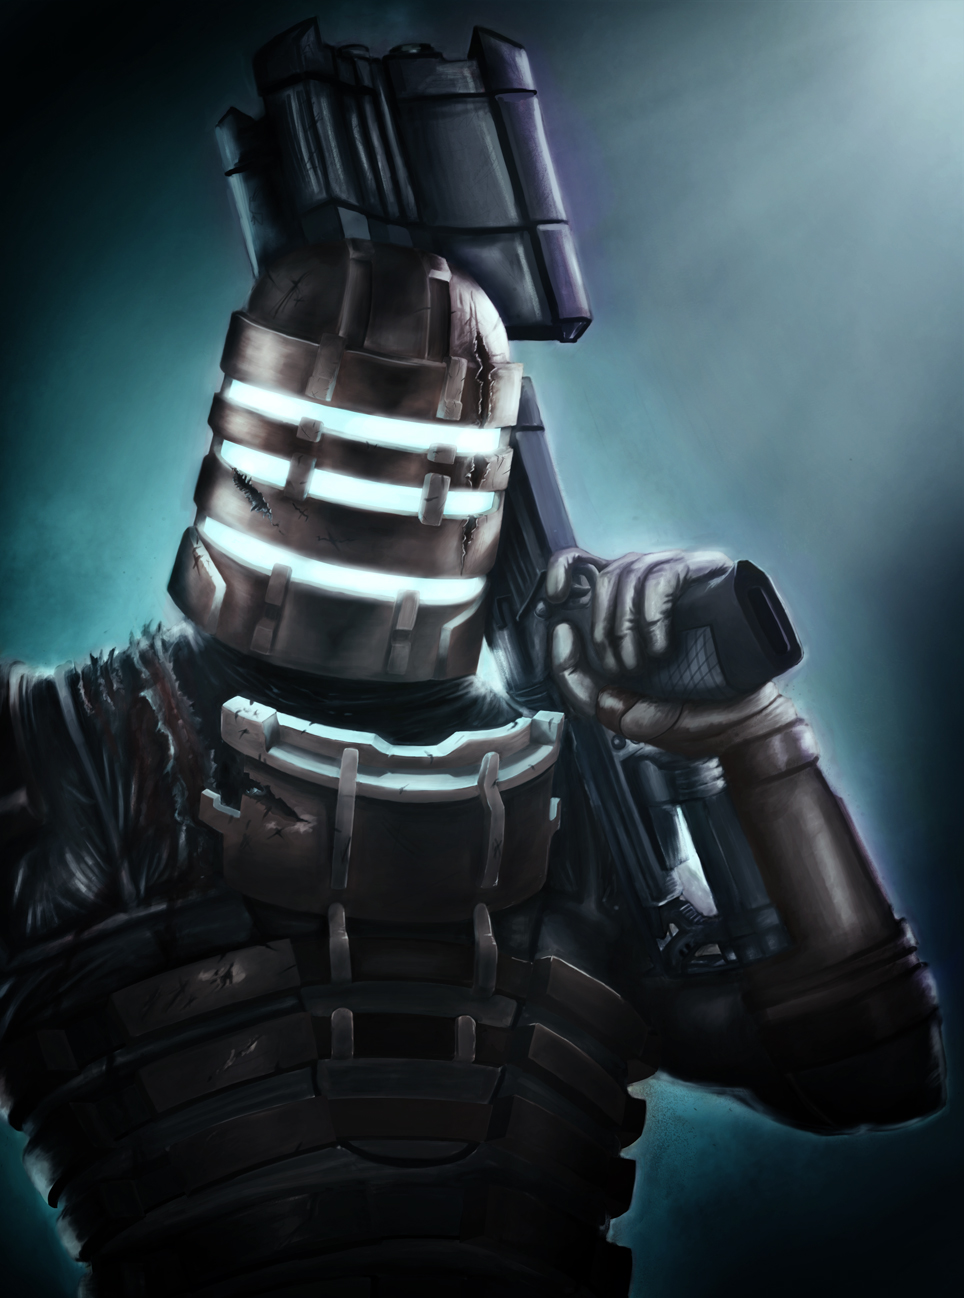
As a serious Dead Space fan I have to say the potential for this image drives me crazy! I love the pose you laid out and the atmosphere you're trying to capture. Here's a quick paintover process I did for you in about 20 min. I might have taken the painting too far so I'm sorry if i did.


First thing to do, watch your light sources, keep them simple. I narrowed down the scene into 3 of them, two high side light sources and the visor light source. This also helps with the composition now that the subject is darker against the lighter background. I also turned the lights into a blue and red color, instead of the teal and purple it was. Your monitor colors might need to be adjusted if they looked blue and red on your monitor.
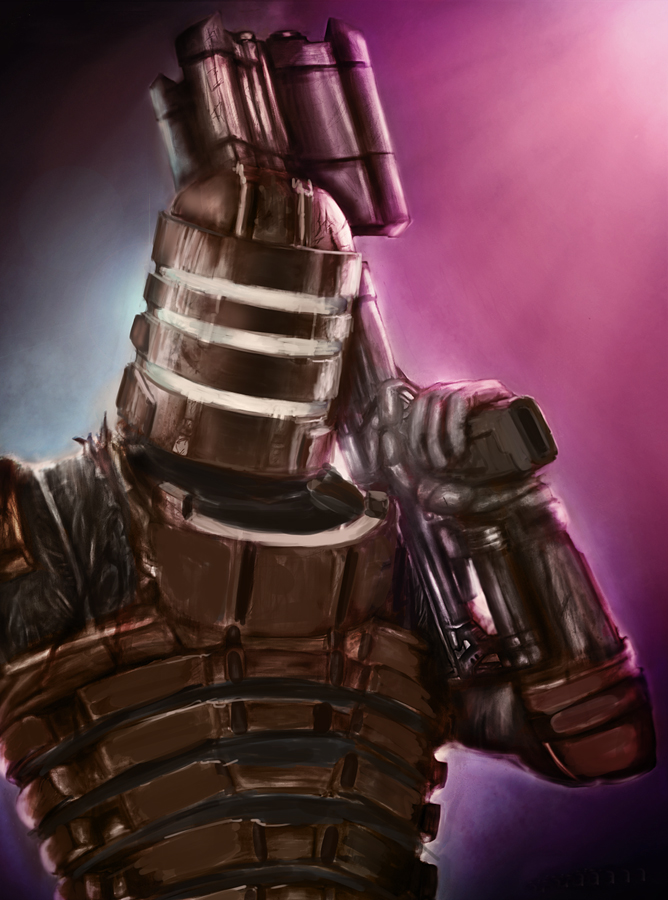
As I started painting I wanted to bring back that classic copper brown that was getting lost in the many light sources the image had. I also brought in the grey leather that is under the armor. Now watch your shapes, making sure they're formed in perspective. I'm not talking about making grid work, I just eyed the thing. He's looking down slightly so you're going to see the top of some of that masks, notice you cant see any of the bottom of the mask. For the chest its the opposite, He's leaning back so now you can see a bit of underneath the armor and you don't see the top.
The other thing here is watch your edges, a lot of them were far to soft. I used two brushes only for this, the opacity hard round and the opacity soft round brushes that come with photoshop. I change their size frequently, it's very simple how I use these. For hard edges use the hard brush. For establishing the softer side light sources I mostly use the soft round but will occasional bring in the hard round to add some banged up detail.

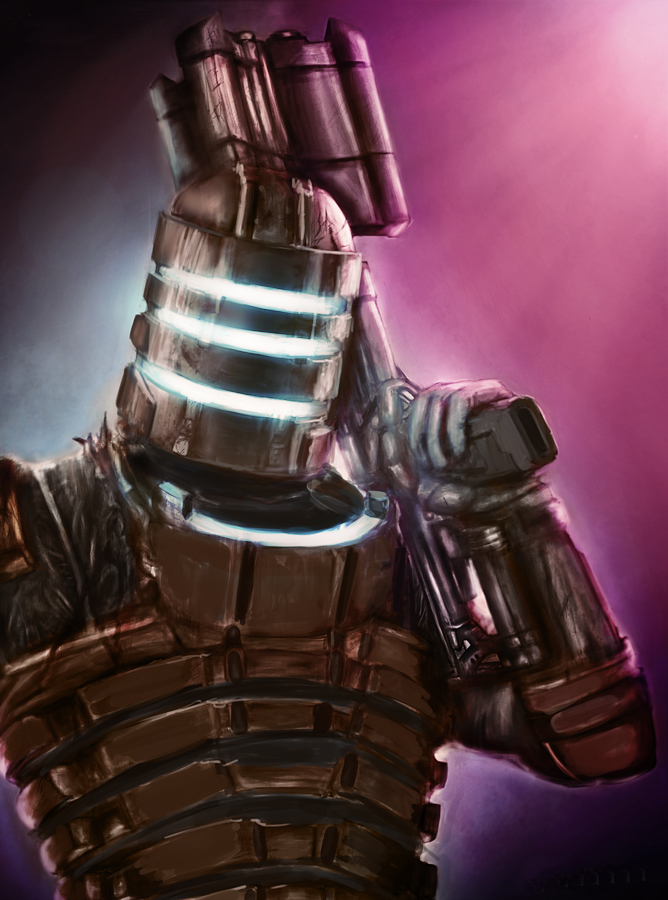
Here's a cool trick for you for adding lights. I use a color dodge layer with a soft round brush and a dead space blue color. Now just start painting in the lights and the areas the light hits. Be careful, this effect can be easily taken too far, so make sure to do a couple tries with it then chose the one you like best.

Here's something important, open a layer adjustment and mess with the levels randomly. much like flipping the canvas, this will reset your eye to find areas that will look better darker. I quickly decided the lower torso of Isaac needed to be darker. I would have never noticed had I not messed around with the levels.

This last part is just a personal preference and not really a suggestion. Ok so in the game there is a color theme a lot of people don't notice. When things are chill the lighting is blue or teal, then when the shit hits the fan it goes red. In the image the shits not really hitting the fan Isaac is just being a bad ass, so I like the blue.
The image has the potential to be so awesome, so keep working it. the last thing I'd do but wont for this is add varying levels of detail into the different focal points. The stuff I want to pop out more to the viewer will get the most detail.
Great idea man! Hope this helps! Keep at it!


